





| |
| |||||
| |
|
|
|
|
||
| Welcome | i | |||||
 | ||
| 1.
After you've signed up, you receive full access to .fla examples and detailed
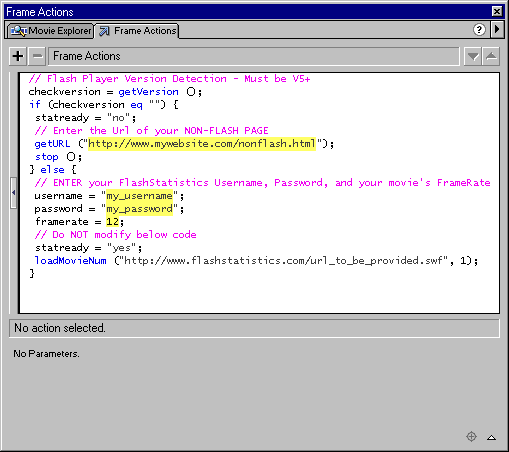
instructions of the Flash Statistics setup. To
initiate tracking, you copy and paste the code pictured at right into your main
timeline.
|  | |
| | ||
|
2. Set up the buttons you are tracking. The Flash Statistics Tracking Code is contained within the "IF" statement. With Flash Statistics YOU name your pages - you only change 1 value:
With the completion of Step 1 a Flash Projector (.exe) for CD-ROM is completely ready to start tracking usage! Website accounts have the additional ability to track (via JavaScript) additional information. See Step 2 below to learn how simple it is to implement the Flash Statistics Code on your webpages! | 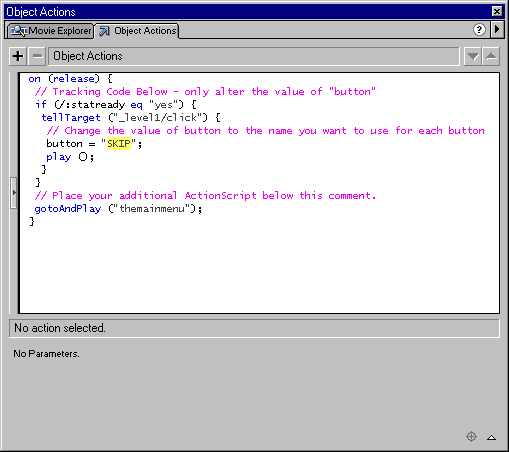 | |
| | ||
 | ||
| 1.
The first thing you need to do is publish the HTML for your Flash with the
"Flash with FSCommand" template. |  | |
| | ||
| 2. The next step is to generate the Flash Statistics JavaScript. You will only need to enter the "name" of your Flash movie into our online Code Builder (the "name" is the filename of your published .swf file without the extension.) | 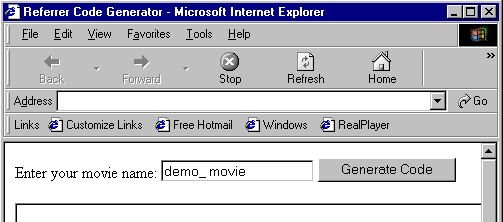 | |
| | ||
| 3. Click the Generate Code button, and ALL the JavaScript necessary is custom built for your movie. | 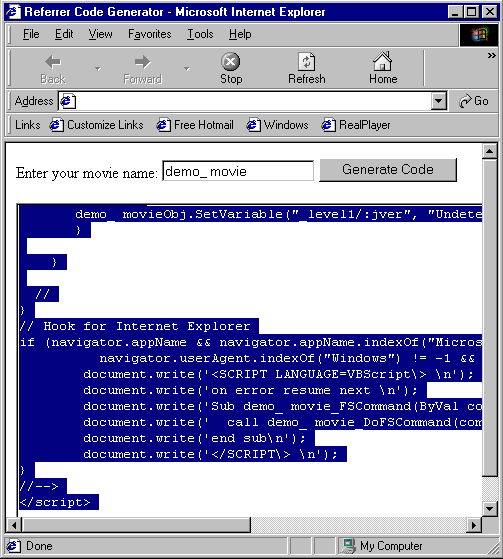 | |
| | ||
|
4. Simply copy and paste the Flash Statistics Code in place of the existing JavaScript generated by Flash Publishing. You're done, and your Flash-Based Website will track all information possible!
| Below
is and example of the default code Flash added to your .html page. YOU WILL REPLACE THIS CODE WITH THE FLASH STATISTICS CODE.
| |
 | |